

Halloween is right around the corner and I promised my fox-loving niece I would make her something foxy, so today I am going to show you have to easily sew a dress-up hoodie for kids. I will be using the Mouse House Creations Dress Up Hoodie Sewing Pattern, sweatshirt fleece, my Janome AirThread 2000D serger, and my Janome S9 sewing machine for construction. Let's get started!
- rotary cutter
- scissors (for paper)
- pins or pattern weights
- printed & taped sewing pattern in the desired size for ears/tail - Purchase pattern here!
- pen or pencil
- thread matching body & accessories colors
- small amount of fiberfill (or whatever you want to use for stuffing)
- sweatshirt fleece knit
- french terry knit (or whatever you select for accessories)
- Overlock/Serger – Janome 1100D Professional
- Sewing Machine – Janome Skyline S9


Step 1 – Edit Tail Pattern
Once you have printed and assembled the pattern, to make the fox accessories print the deer ears pattern and the cat tail pattern (follow in instructions). Before cutting out the cat tail take a pen or pencil widen and curve the sides and draw a zig zag across the tip as shown below.

Step 2 – Cut Out Pattern
Follow the pattern instructions for laying out and cutting out the pattern. For cutting out the tail pattern cut the whole pattern first on your selected tail fabric and then cut the zig-zag bottom piece of the pattern on your selected fabric as shown.

Follow the instructions for attaching the front pocket. I serged the flaps and then used clips to secure the top and sides to the wrong side as the fabric is bulky and did not require pressing.


I used a medium zig zag stitch to secure the pocket to the front bottom pattern piece of the hoodie as shown.


Step 4 – Sew Raglan Sleeves
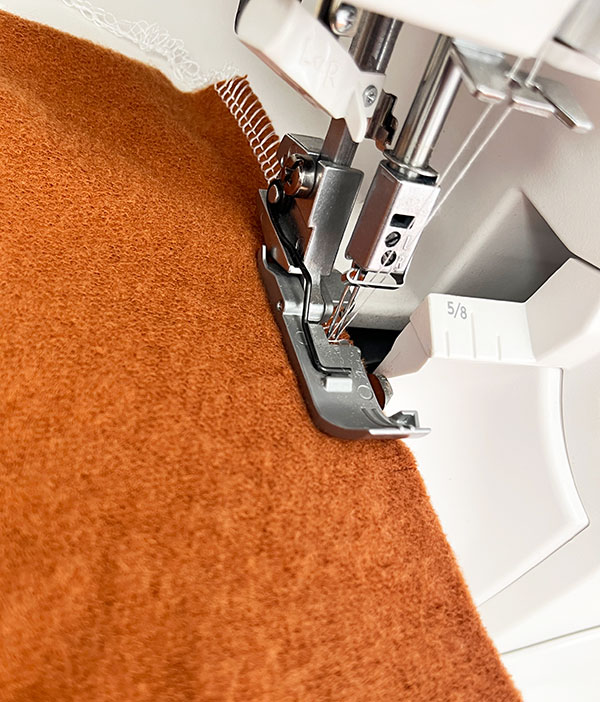
Follow pattern instructions to sew the raglan sleeves together, taking care to match the sewing pattern notches for the front and back of the sleeve to the front and back pieces correctly. I serged the sleeves, but you can sew with a regular machine as sweatshirt fleece does not unravel.

Step 5 – Assemble Fox Ears & Tail
Lay the two earpieces on top of each other with the inside earpiece on top both right side out. Cut around the inside earpiece to make it smaller than the outside piece (as shown). Straight stitch around the inner ear to the outer ear leaving the bottom open. Take your stuffing and gently stuff it into the ears until they are able to stand up on their own.


Step 6 – Assemble Hood
Follow the instructions for assembling the hood option with ears. Sew the lining pieces first and then insert the ears inside, making sure they are facing the right direction. Secure the enclosure making sure you are getting the ears in the seam, and then serge/sew the seam closed.


Step 7– Finish Hoodie
Follow the instructions for finishing attaching the hood to the body and then the body of the hoodie with cuffs and waistband, making sure to follow the instructions to attach the tail piece onto the middle of the back body piece when attaching the waistband.


You are done!

Happy Sewing & Have a Great Halloween!
~ Heather
No comments:
Post a Comment